Trading Vault Update: New Stat Widgets for Smarter Insights
Explore Trading Vault’s latest update with new stat widgets, improved averages, and enhanced performance tools designed to sharpen your trading edge.

To create a group, first navigate to the Groups section on the left-hand side menu. Then, click on the "Create Group" button. Provide a name and description for the group, and select the desired visibility and privacy settings. Note that public groups can be changed to private at any time, but private groups cannot be made public for privacy reasons. Additionally, you can modify the visibility settings later on from the group settings page. Finally, click on the "Create Group" button, and your new group is ready to use.
After creating the group, you can navigate to the group settings and set a unique handle for your group. This handle will provide a personalized URL for your group, making it easier to share with others. In group settings, you can also rename your group, modify the group description, manage group visibility, and configure the default setting for whether or not group members can add trades.
You can also list any group rules that should be followed along with any other information on the Group Info page.
To manage group members, navigate to the "Members" section located in the "Manage Group" section on the left-hand side menu. Here, you can manage group members, view pending join requests and invitations, and control blocked users. If you want to invite members to your group, click on the "Invite Members" button located in the top right corner, then enter their email or Trading Vault handle. Existing Trading Vault users will receive an email invitation to join your group, while non-users will receive an email prompting them to create a free account and join your group.
The 'can add trades' toggle provides an individual override to the group-wide setting for adding trades, allowing for precise control over who can and cannot add trades. For instance, if the group setting is set to 'no-one can add trades', then only members who have a 'Yes' beside their name will be able to add trades. On the other hand, if the group setting is set to 'everyone can add trades', then members who have a 'No' beside their name will not be able to add trades. This feature helps prevent people who spam the group or do not follow the group's rules from adding trades.
If you have the necessary permission, you can add trades to a group by accessing the "Trades" section of your personal journal. To add a single trade, open the trade, click on the group icon in the top right corner, and select the group you want to add it to. To remove the trade from a group, simply deselect the group.
You can also add multiple trades at once. From the trades screen, apply filters to select a group of trades you wish to add. Then, click on the "Add to groups" button in the top right corner. A modal will appear, displaying the number of trades you have selected based on your filters. You can then select the groups you want to add them to. To remove trades in bulk, follow the same process and select the "Remove from groups" button. Choose the groups you want to remove the trades from, and they will be removed if they belong to that group.
If you leave a group, whether voluntarily or after being removed by an admin, all your trades will also be removed from the group.
To determine what trade data you want to share with a group, you can configure your sharing settings for each group individually. Simply go to the desired group and select "Preferences" from the left-hand menu. From there, you can use checkboxes to choose which data you want to share with the group. These settings are flexible and can be changed at any time. If you choose not to share specific data, such as profits, those trades will not appear for group members who filter trades by that data. Keep in mind that anything not selected will be hidden from all group members. These preferences apply to all your trades in the group regardless of when they were shared.
Members who hold the role of moderator, manager, or admin within a group are authorized to moderate the trades shared in that group. To remove a trade, access the trade and select the "Block Trade" option from the 3-dot menu located in the top right corner. Once blocked, the trade will no longer be visible in the trades section to any member of the group. To view and manage blocked trades, navigate to the "Moderation" section under "Manage Group" in the left-hand side menu. This section lists all blocked trades, along with the reason and the member who blocked them.
Members who hold the role of manager or admin within a group can moderate group members. To access the list of group members, select "Members" under "Manage Group" in the left-hand side menu. You can block or remove members from the group by using the 3-dot menu beside their name. When a user is blocked, they are not removed from the group, but their access is revoked, and their trades are hidden until they are unblocked. On the other hand, removing a user will remove both them and their trades from the group.
Admins within a group have the authority to modify members' roles. To modify a member's role, use the 3-dot menu in the members' section under "Manage Group."
For groups that allow all members to add trades, there is a possibility of trades being shared in different currencies. When viewing an individual trade, it will be displayed in the currency used by the member who added the trade. However, this poses a challenge on the stats screen since only one currency can be shown at a time. To address this issue, all profits are summed together (regardless of currency) and displayed as a total. The currency symbol shown is based on the currency with the highest number of selected trades. It would not be feasible or efficient to look up the foreign exchange rate of every trade on the date it was closed and convert them all to a base currency.

Explore Trading Vault’s latest update with new stat widgets, improved averages, and enhanced performance tools designed to sharpen your trading edge.

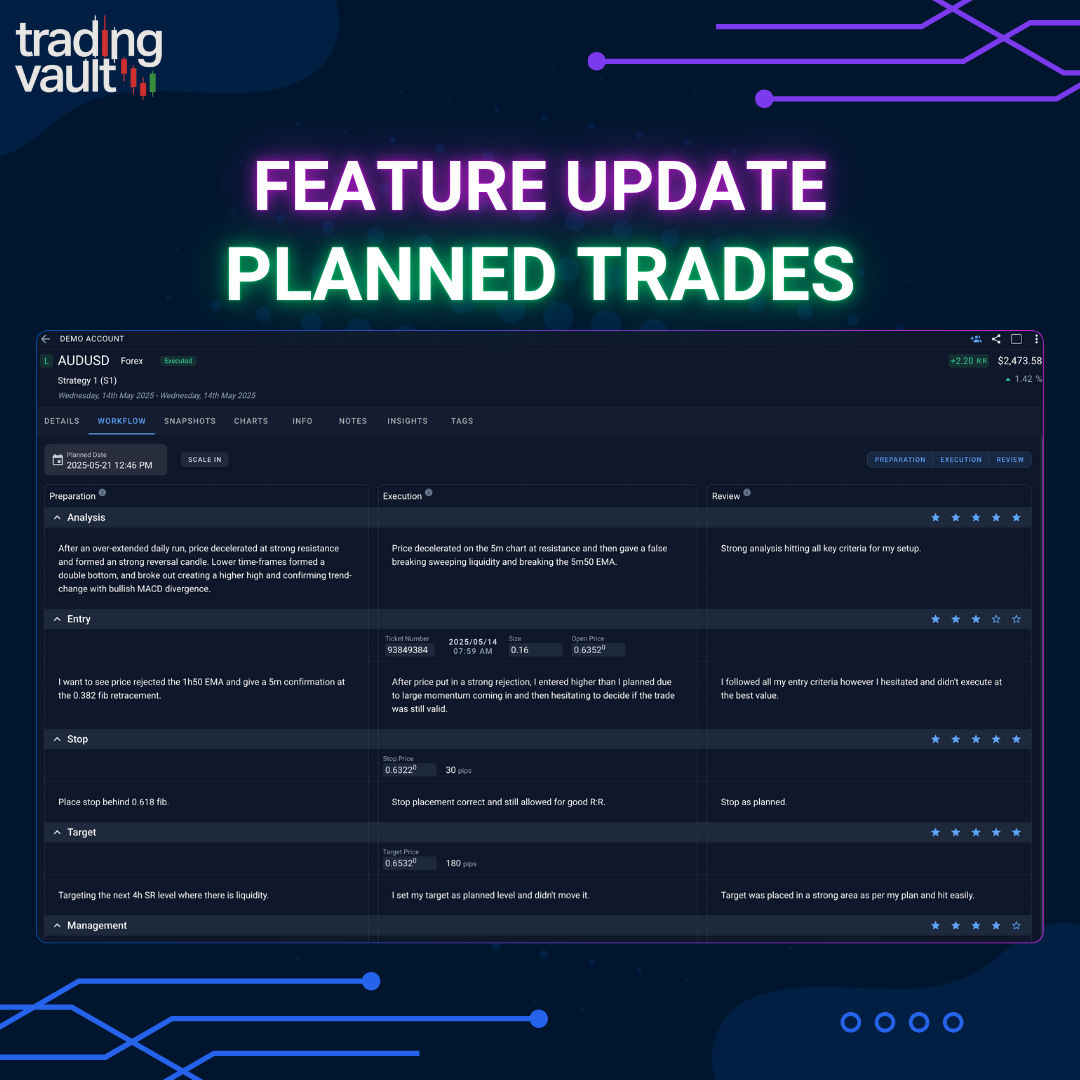
Unlock the full power of structured journaling with Trading Vault’s new Plan → Execute → Review workflow, ideal R:R tracking, and direction prediction.

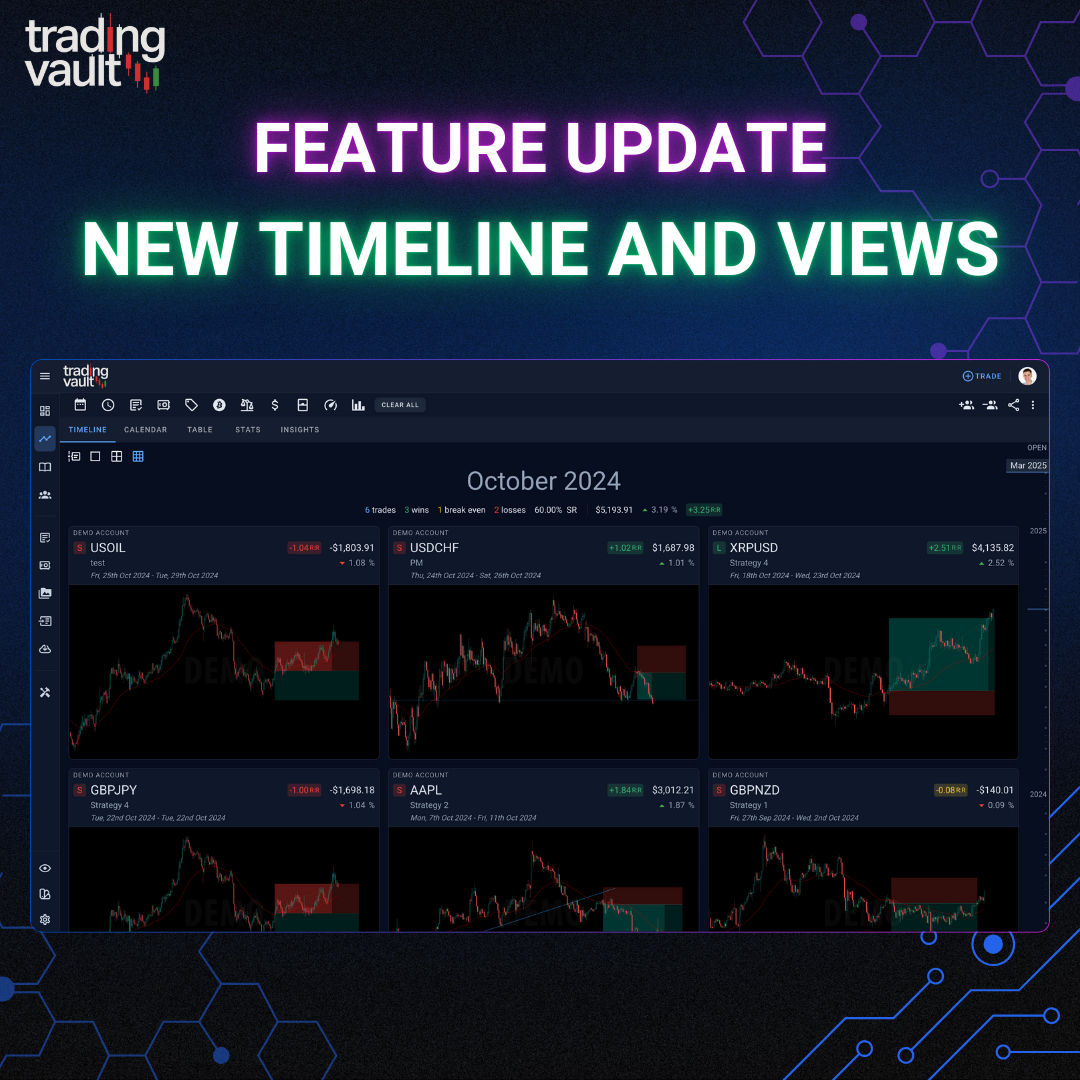
Trading Vault just got a huge upgrade to how you browse, filter, and review trades—with blazing fast views, timeline memory, and open trade filtering.